


Twelve habits that pay for themselves in the early hours of GTA 6. Each one is two or three sentences and points to the guide with the detail, so this page stays a list. Start with the stats and finish with the save menu.
Quick take
- Health and stamina gains fade if you stop training. Focus gains stay.
- Scan a car on the phone before you steal it: the alarm, the tracker and the sale price are on the screen.
- Leave banks and loan stores until the Dye Pack Jammer arrives in Chapter 3.
- Completed missions cannot be replayed, so keep manual saves in the 15 slots.
Tips 1 to 4: Your Body, Your Eyes and Your Wallet
Twelve entries and no padding. Each tip is something the game lets you learn the slow way, and most link to the guide that holds the detail. For the opening missions in order, use our first hour guide instead.
- Build a routine early. Health grows with weights, stamina with running, cycling and kayaking, and focus with fishing, pool, golf putting and the shooting range. Health and stamina fade if you stop, focus does not. Train until the fitness ring closes, then a protein bar or shake locks the gain in. Our stats guide has the rest.
- Use Focus mode outside combat. Click both sticks and it marks enemies, items worth taking, cash and notes with safe codes. There is no time limit, so use it in every new room.
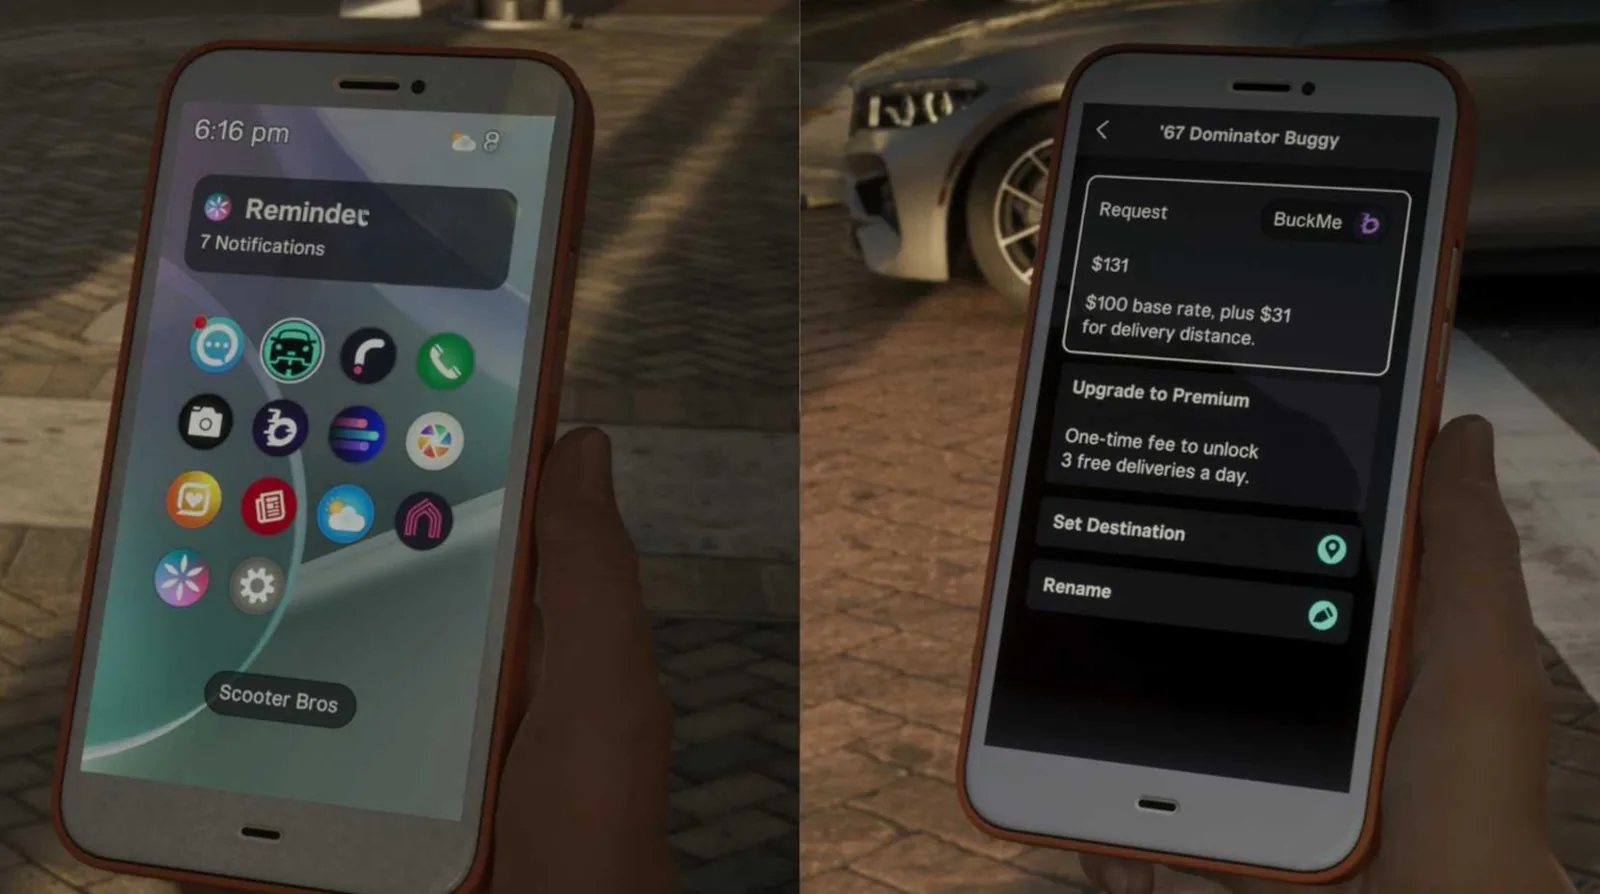
- Know what travel costs. A RydeMe skip is $100 on top of the fare, and a Scooter Bros delivery starts at $100. Switching to the other lead costs nothing. The fast travel guide lists every option.
- Scan before you steal. The phone app shows the alarm, the tracker, the sale price and the registration fee. A standard tracker blocks modifications until the car is registered, and an advanced one calls the police when you slow down. See the vehicle theft guide.
Tips 5 to 8: Robbing, Hiding and Selling
- Rob small first. The map shows the likely take and a security level of low, medium or high. Leave pair jobs until both leads are playable in Chapter 2, and banks and loan stores until the Dye Pack Jammer arrives in Chapter 3. Our robbery guide covers the planning.
- Clear the heat icons one by one. Get out of sight first, then deal with each icon in turn: outfit, face, weapon, vehicle, camera footage and partner. The wanted guide explains each one.
- Sell to the right fence. Tyrone takes narcotics. Yasmani takes jewellery and marked bills.
- Treat the car as your store. Each lead carries two stash bags. A boot takes several, vans and trucks take eight or more, and motorcycles take none. Bags left in an impounded car are lost.
Tips 9 to 12: Guns, Phone, Profile and Saves
- Fit a red dot and a silencer. A sight gives you a first-person aim on a click of the right stick. Unsilenced shots get reported. Our combat guide goes through the attachments.
- Read the reminders list on the phone. It is easy to skip. One liked Snapmatic post can start a chain of side missions, and the phone apps guide covers the other apps.
- Shoot to injure when you can. A yellow marker means out of the fight and a red one means dead. The difference feeds your criminal profile.
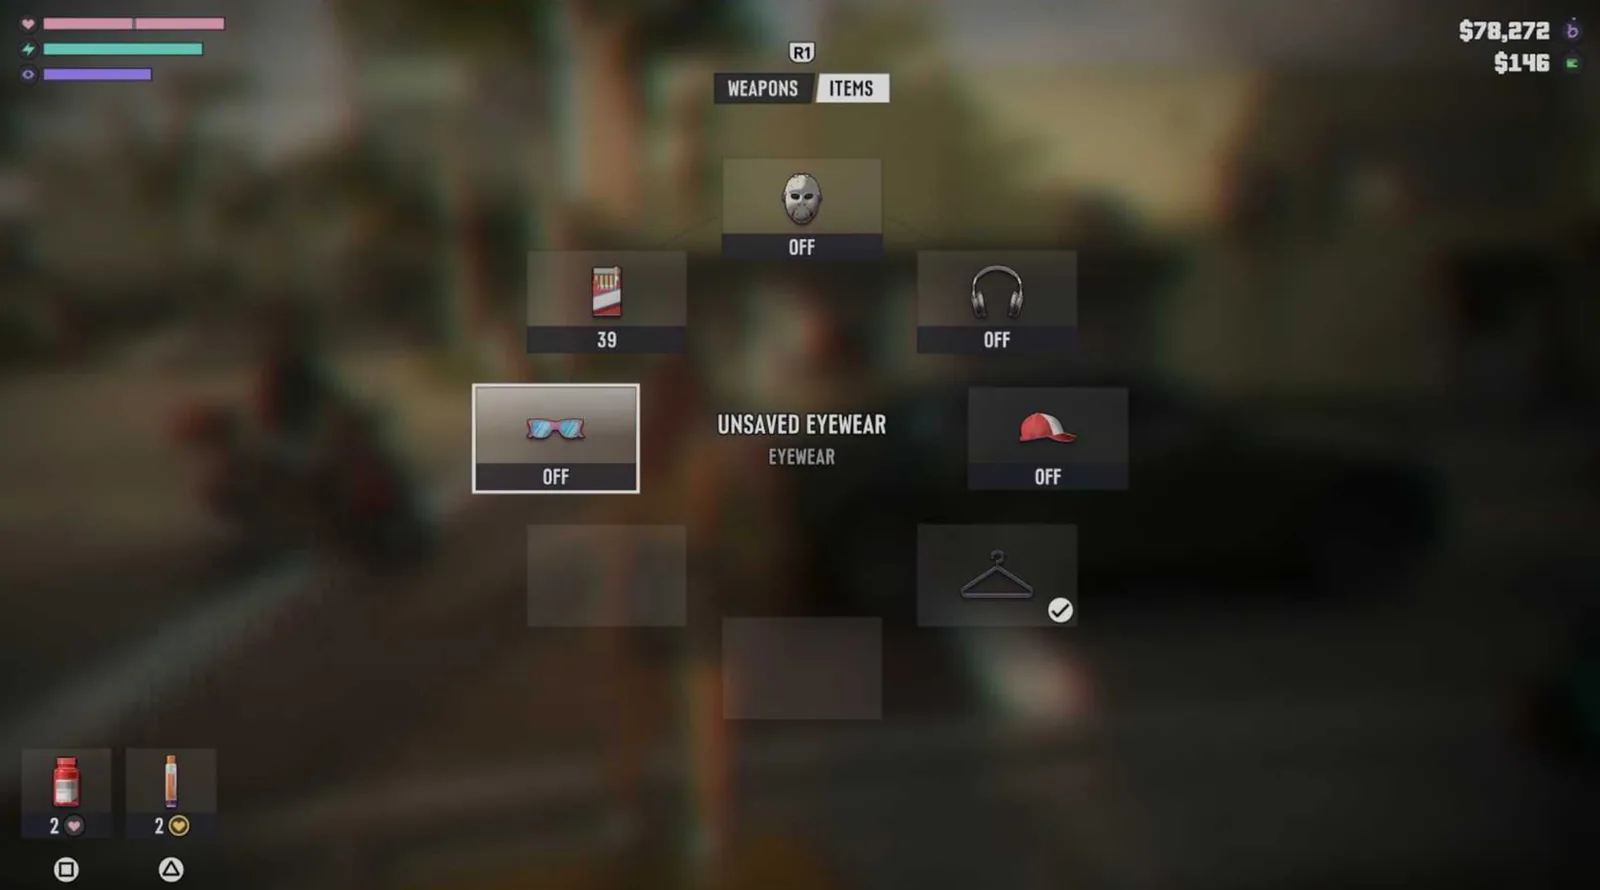
- Save by hand. There are 15 slots, completed missions cannot be replayed, and each chapter moves you to a new safe house. The safehouses guide has the list.
Discussion
Comments · Beginner tips
No comments yet.
Loading comments…